On 3D printing a 3D printer
Posted
It’s been… an interesting time to be interested in 3D printing as a technology. (We’ll get to that probably in a later post.)
Anyways, I’ve been exploring 3D printing and its uses in, e.g., making some “classic” optics experiments more accessible, but one of my longer-term projects has been to build a (small) yet fairly capable open source printer, the Voron V0.2. The provided kit1 doesn’t include any of the “plastic” parts. These are traditionally meant to be 3D printed on a different 3D printer using some heat-resistant filament such as ABS or ASA—usually by asking one of your 3D-printer-owning-friends to help you out.2
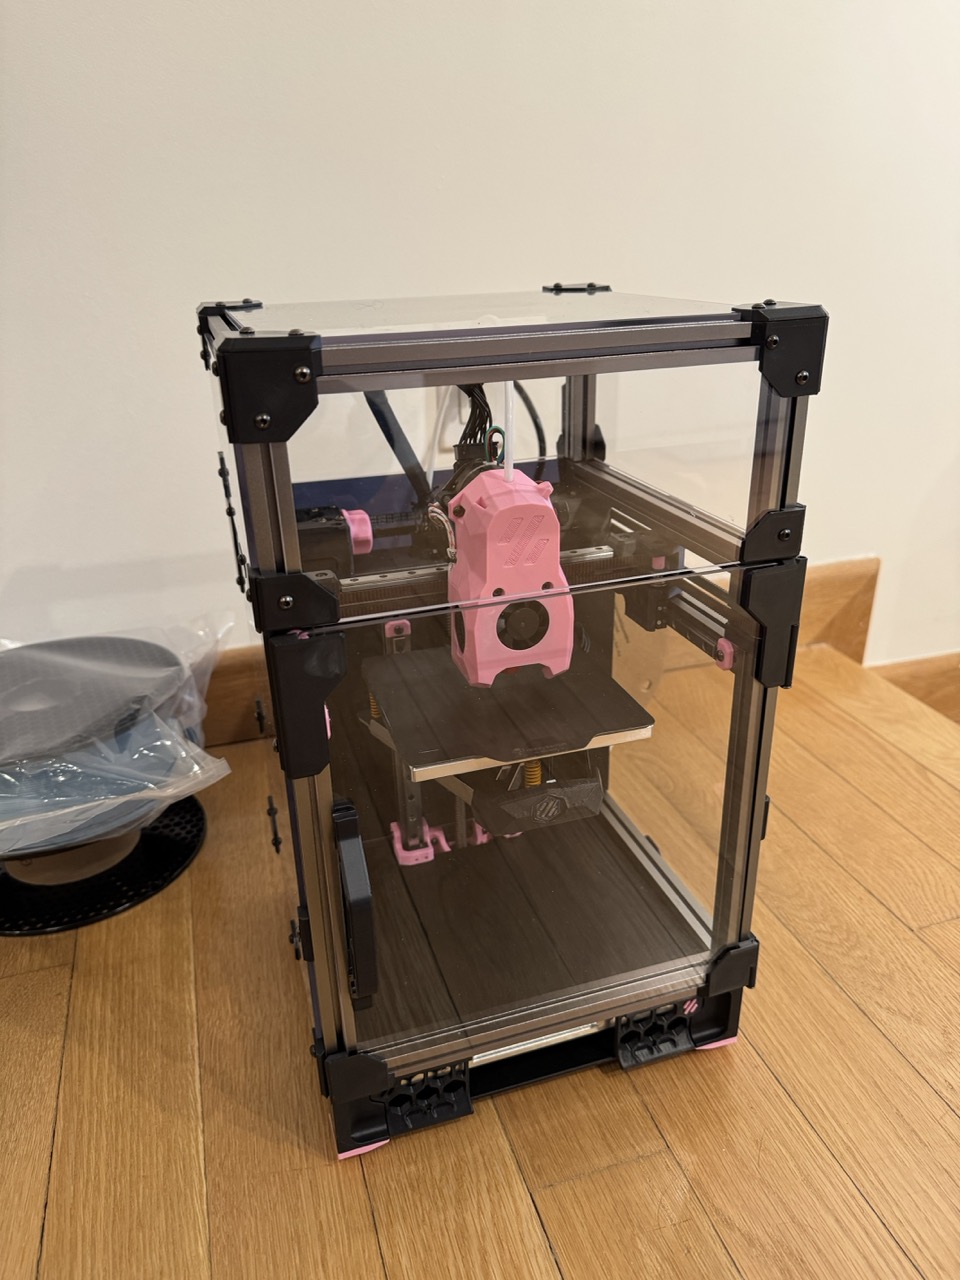
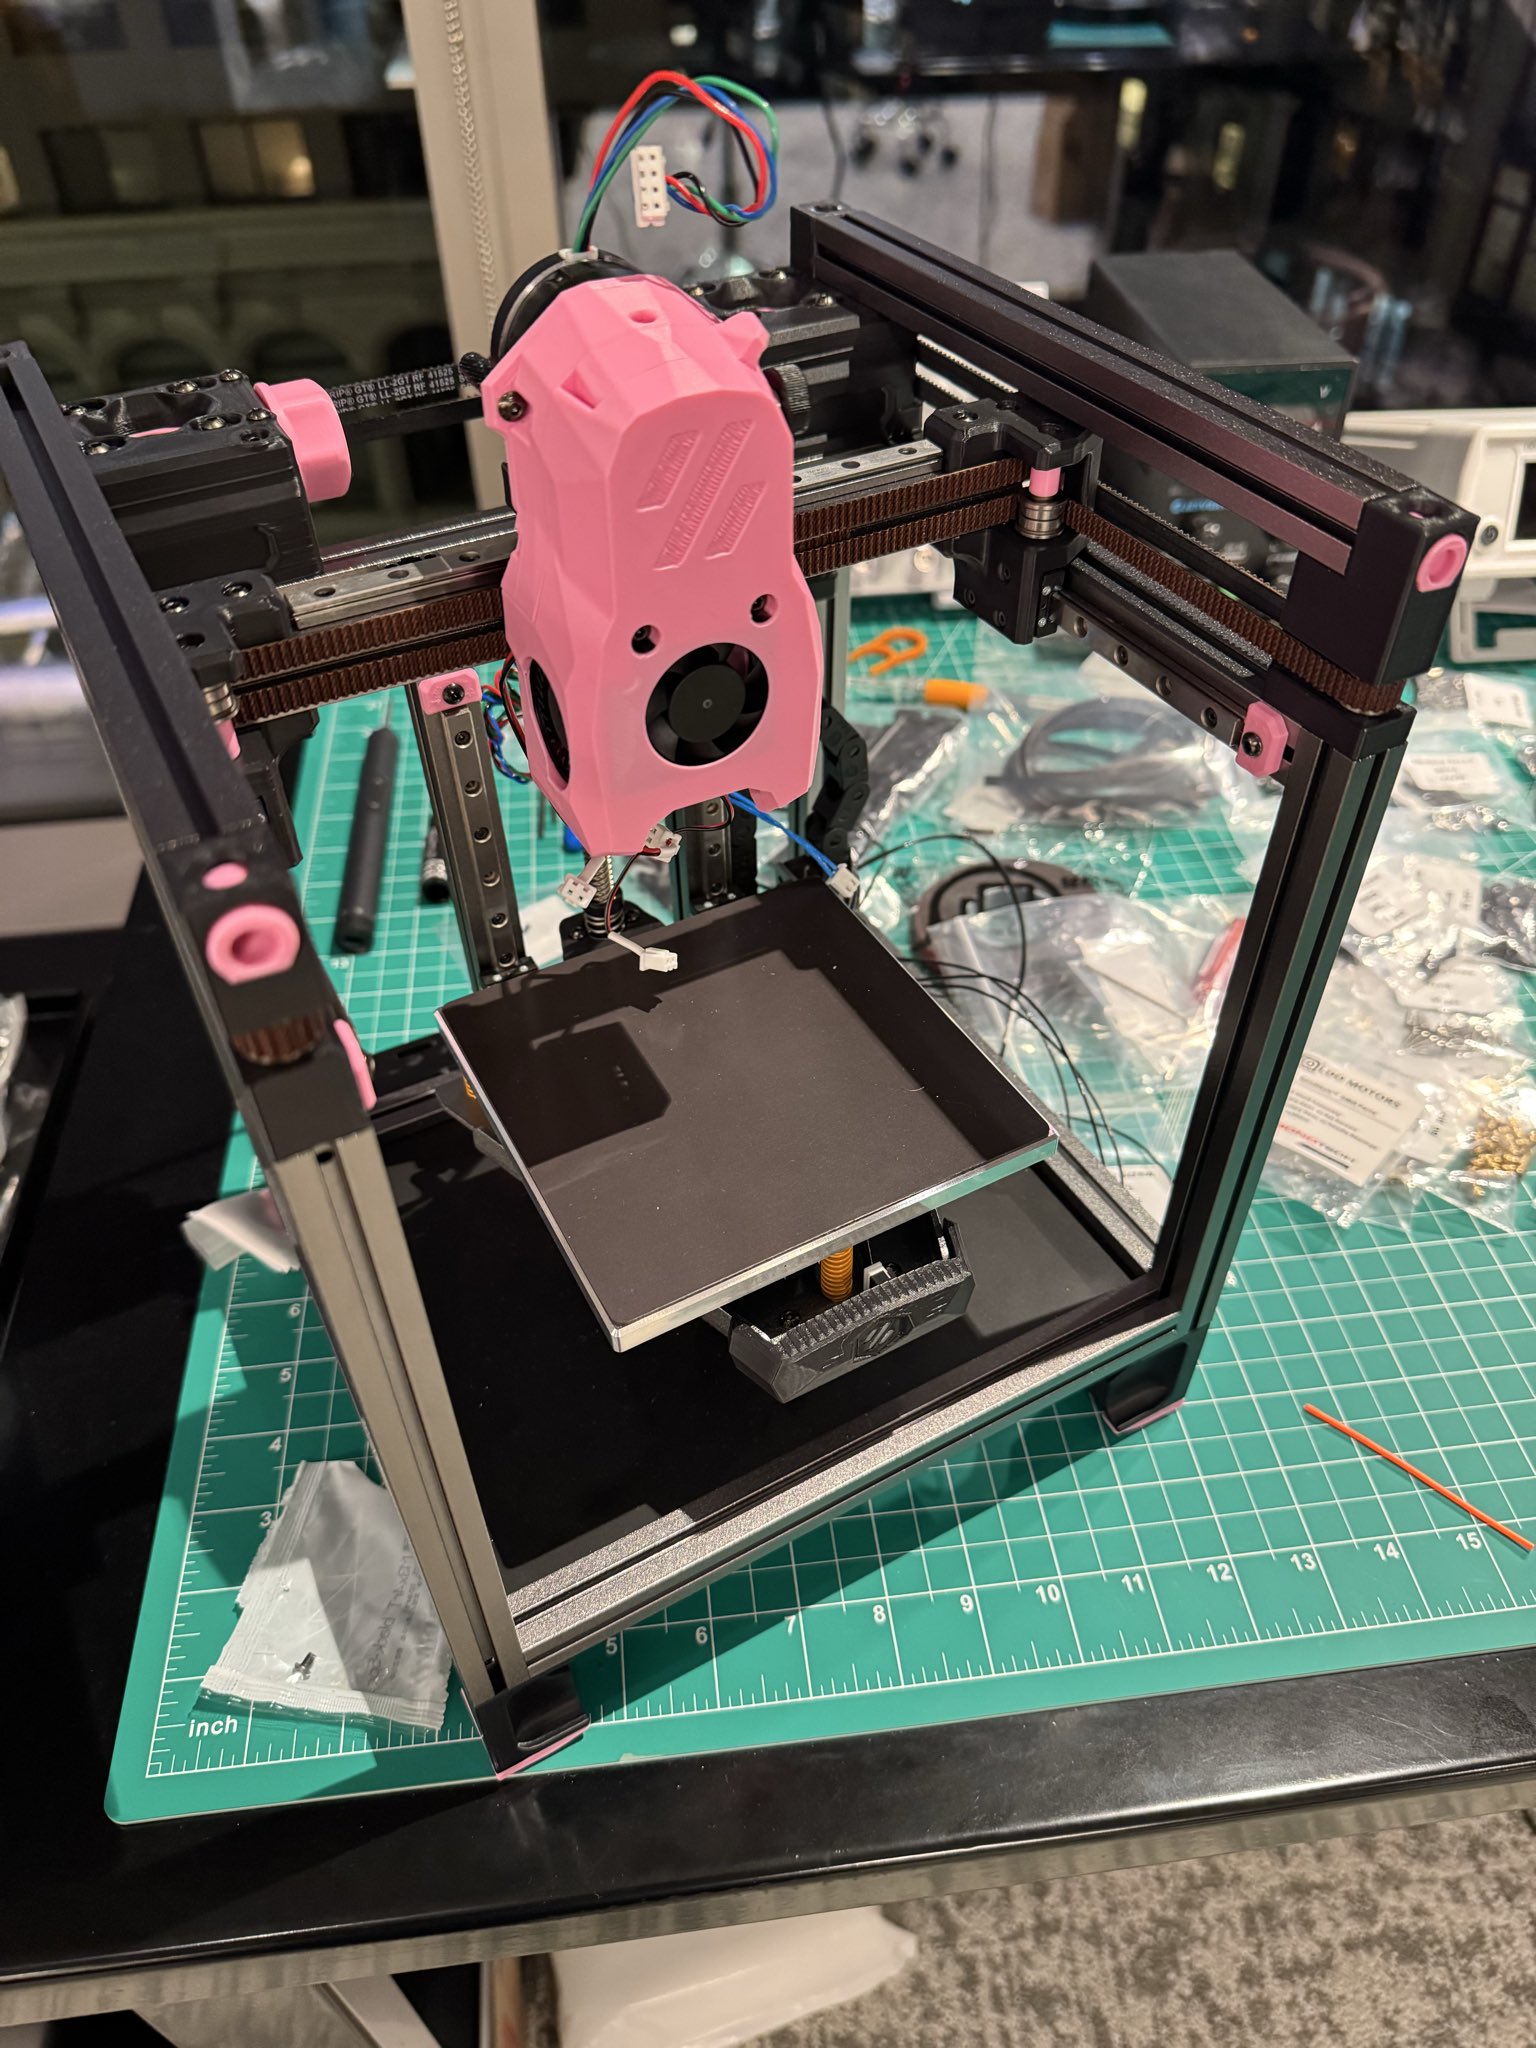
Anyways, before we get to all of the writing, here’s a little peek at the finished build of the Voron V0.2, which is the tiny 3D printer designed by Voron Design:
Cultural notes
As a side note to the build process I’ll write about below, I want to talk a little bit about some cultural things in this community that I found interesting.
First, as hinted above, you are highly encouraged to print your own parts or find a friend who can print them for you. In fact, most kits don’t come with printed parts and you have to order them separately. (I think the Formbot kit is one of the few that differs here in making it much easier to order with printed parts, but even their “default setting” contains none of the plastic parts.)
Second, it is expected not just that you will build the printer, test it, tune it, etc., but you are also expected to make it yours. The online community has many notes on creating and using macros (essentially, custom printer programs, akin to programming “function calls” with arguments and all) but almost none of these are “out-of-the-box”. It’s funny because there surely could be an out-of-the-box experience for, e.g., some particularly standard kits that people use, but it seems to go somewhat against the grain/philosophy of the build.3 It reminds me quite a bit of the older-school vi/vim community, though sharing vimrc files is much more standard for obvious reasons.
Third, there is a really active community of people who are, to say the least, obsessed with making their Vorons faster, or bigger, or just nicer to use. A lot of it lives on Youtube (much to my chagrin) and Discord. Some of it lives on Reddit, but almost none of it lives on easy-to-read sites. (There’s a few exceptions for perhaps the most popular guides such as Ellis’s tuning guide, but, if these others do exist, they appear effectively invisible on, e.g., Google.)
Finally, and possibly most interestingly, is that there seems to be a pretty strict division between the design team that created the whole open source project (namely VORON Design) and the sellers of the kits/parts for the project. For example, browsing around the Voron design website for the Voron V0.2 gets you to this page which only explains how to source individual parts of the kit, but does not (and philosophically, I suspect, will not) mention any of the many providers for the printer parts. For this, you have to go and search online. Though the kits are not hard to find, it’s still surprising to me that this is the case and feels very cyberpunk-y in spirit.4
I don’t know much about the team that made this project real, though I would be very curious if they have talks about their philosophy, or why they even embarked on this project that can be found online somewhere, outside of the little blurbs on their website.
Build notes
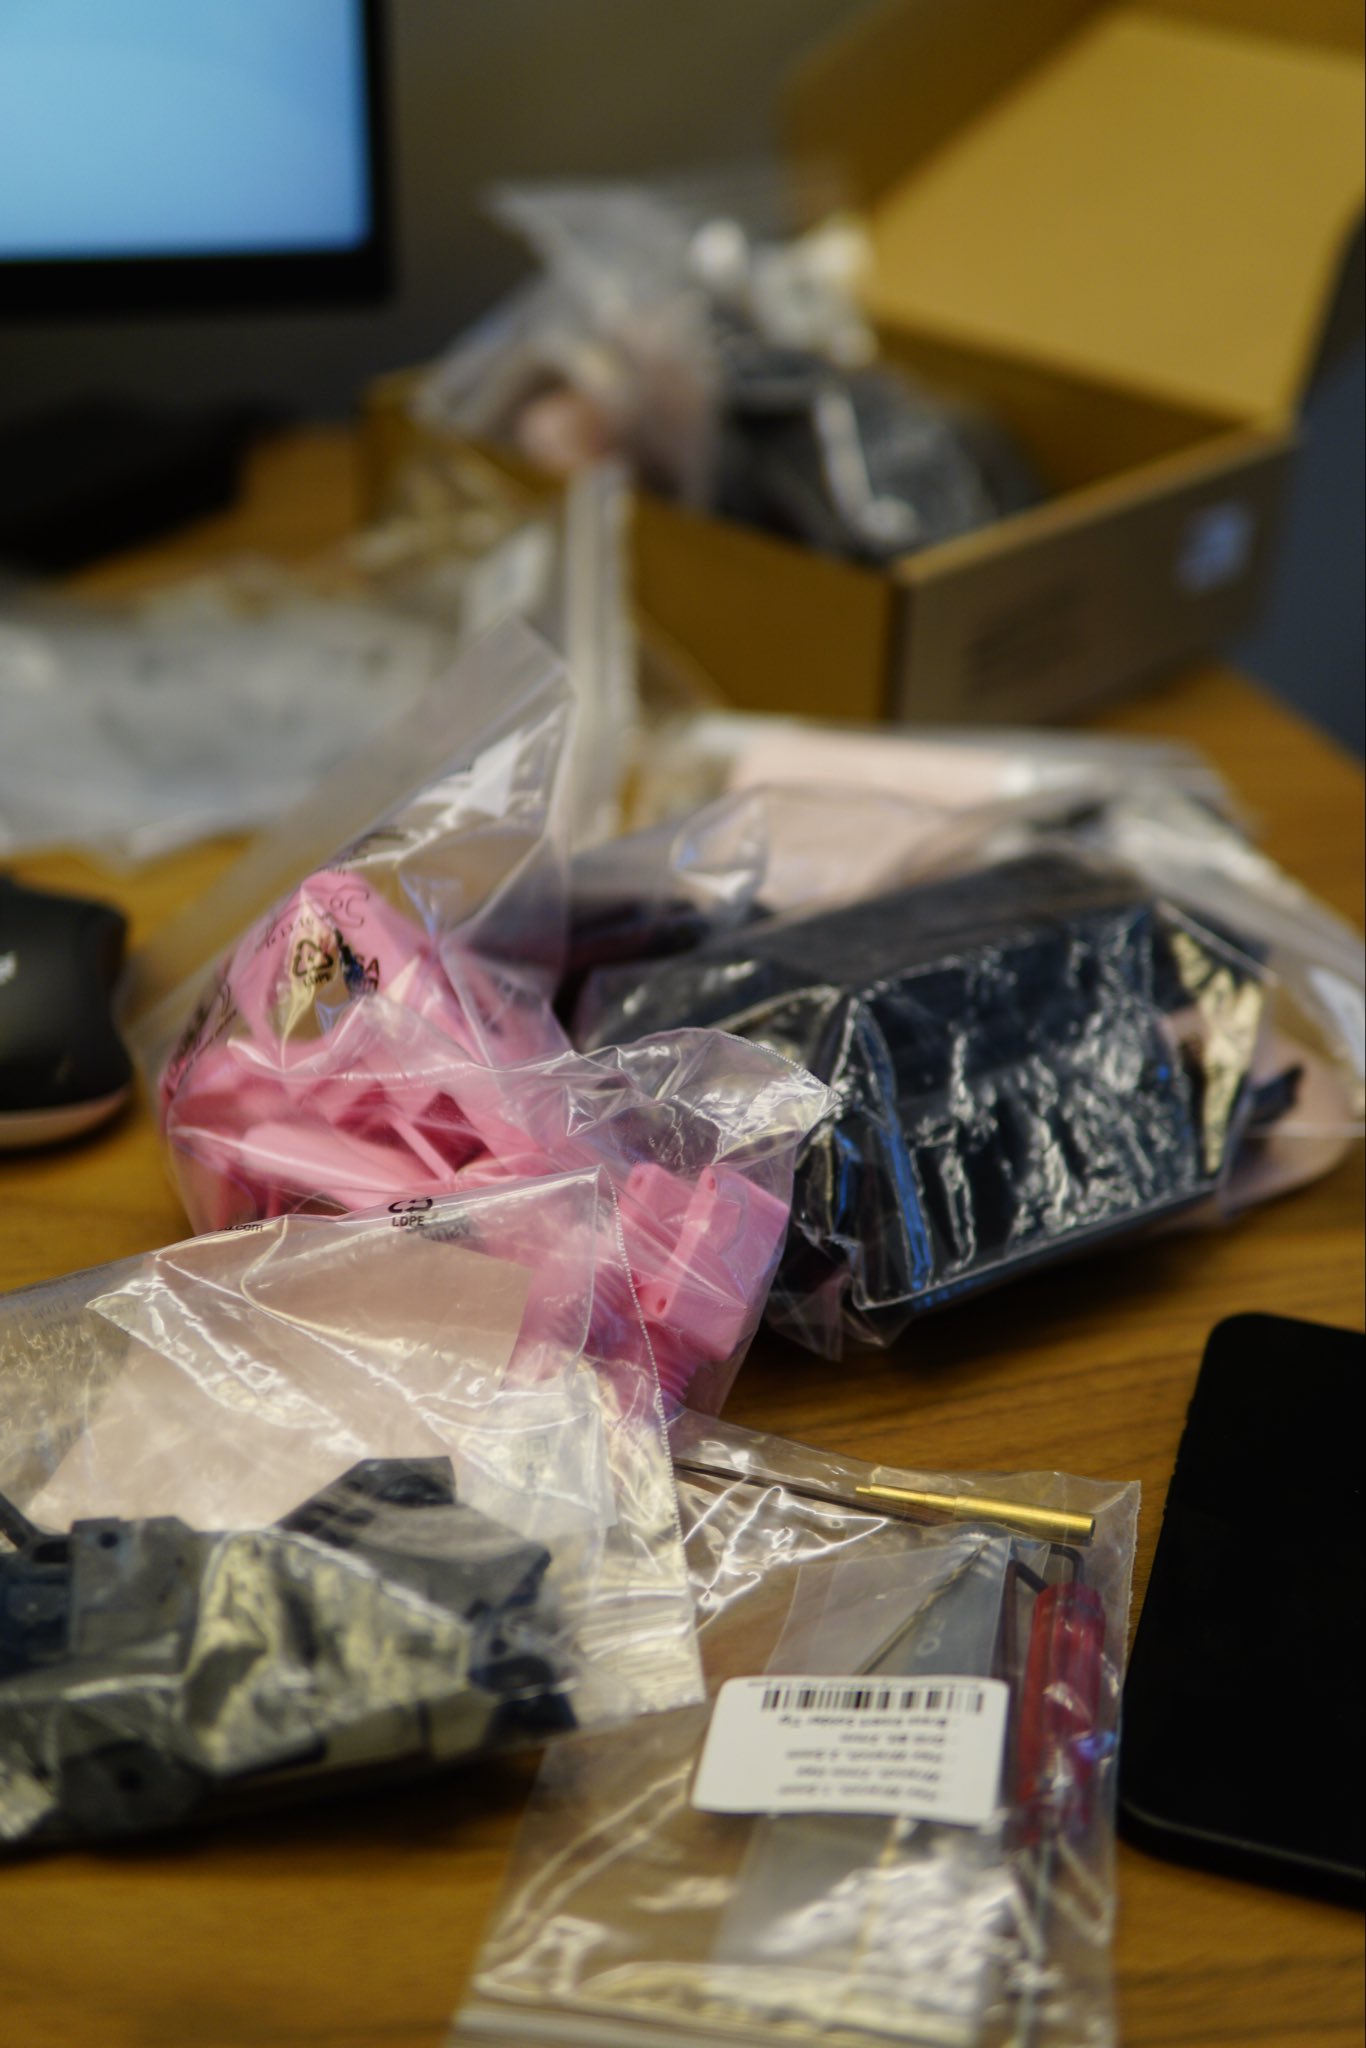
Ok, I’ll get back to philosophizing more a little later, probably in a later post, but, for now, let’s talk about the build process. As a side note, almost all of the build process I live-ish-documented on my twitter account. This blog post will have fewer images, but will probably have more commentary, so choose your own adventure, I guess.
As mentioned previously, the kit I used is the Honey Badger LDO Voron V0.2 kit from Fabreeko. For context “LDO” here is short for LDO Motors, a Chinese company that makes high quality stepper motors and sells some of the best Voron 3D printer kits with all of the necessary non-3D printed parts. I know nothing else about them other than they are famous for this and “LDO” is pretty much part of the online lexicon when talking about Voron printers.
The entire build of this kit, not including printing, took maybe around 15 or so hours of my time, with a few additional hours spent trying to understand config files and tuning the printer. (A process that, arguably, I still haven’t completed to my satisfaction. Whatever.)
Compare this to building the Prusa Core ONE, which took around 11 hours all-in for the build and it was running with no additional tuning necessary. (This, of course, is what Prusa printers are famous for, so it’s not surprising.) The Core ONE also has a much larger print volume (300 x 300 x 330 mm) compared to the Voron V0.2 (120 x 120 x 120 mm), though the latter tiny Voron printer can achieve much higher print speeds when tuned correctly.
Printing the parts
Printing everything for the LDO took around 25 or so hours on the previously-assembled Prusa Core ONE. Maybe one or two hours were spent finding all of the STL files for the assembly, figuring out which ones were the ones I needed, what mods did LDO recommend for their kit, and so on.
Some parts I missed and needed to print later, some I printed extra not realizing that a mod included a complete replacement part.
Naturally, I was also so invested in the process of figuring out what I needed to print, didn’t need to print, how much of the things I needed to print, and how to organize everything that I missed that LDO already had fully-nicely-laid-out plates for the Core ONE that you could just print directly. (This was, of course, at the bottom of the printed parts guide. Might I recommend placing it at the top?) Naturally, I only figured this out by the time that the only things left to print were some small accent parts.
Reading: 1, guille: 0.
Building the frame
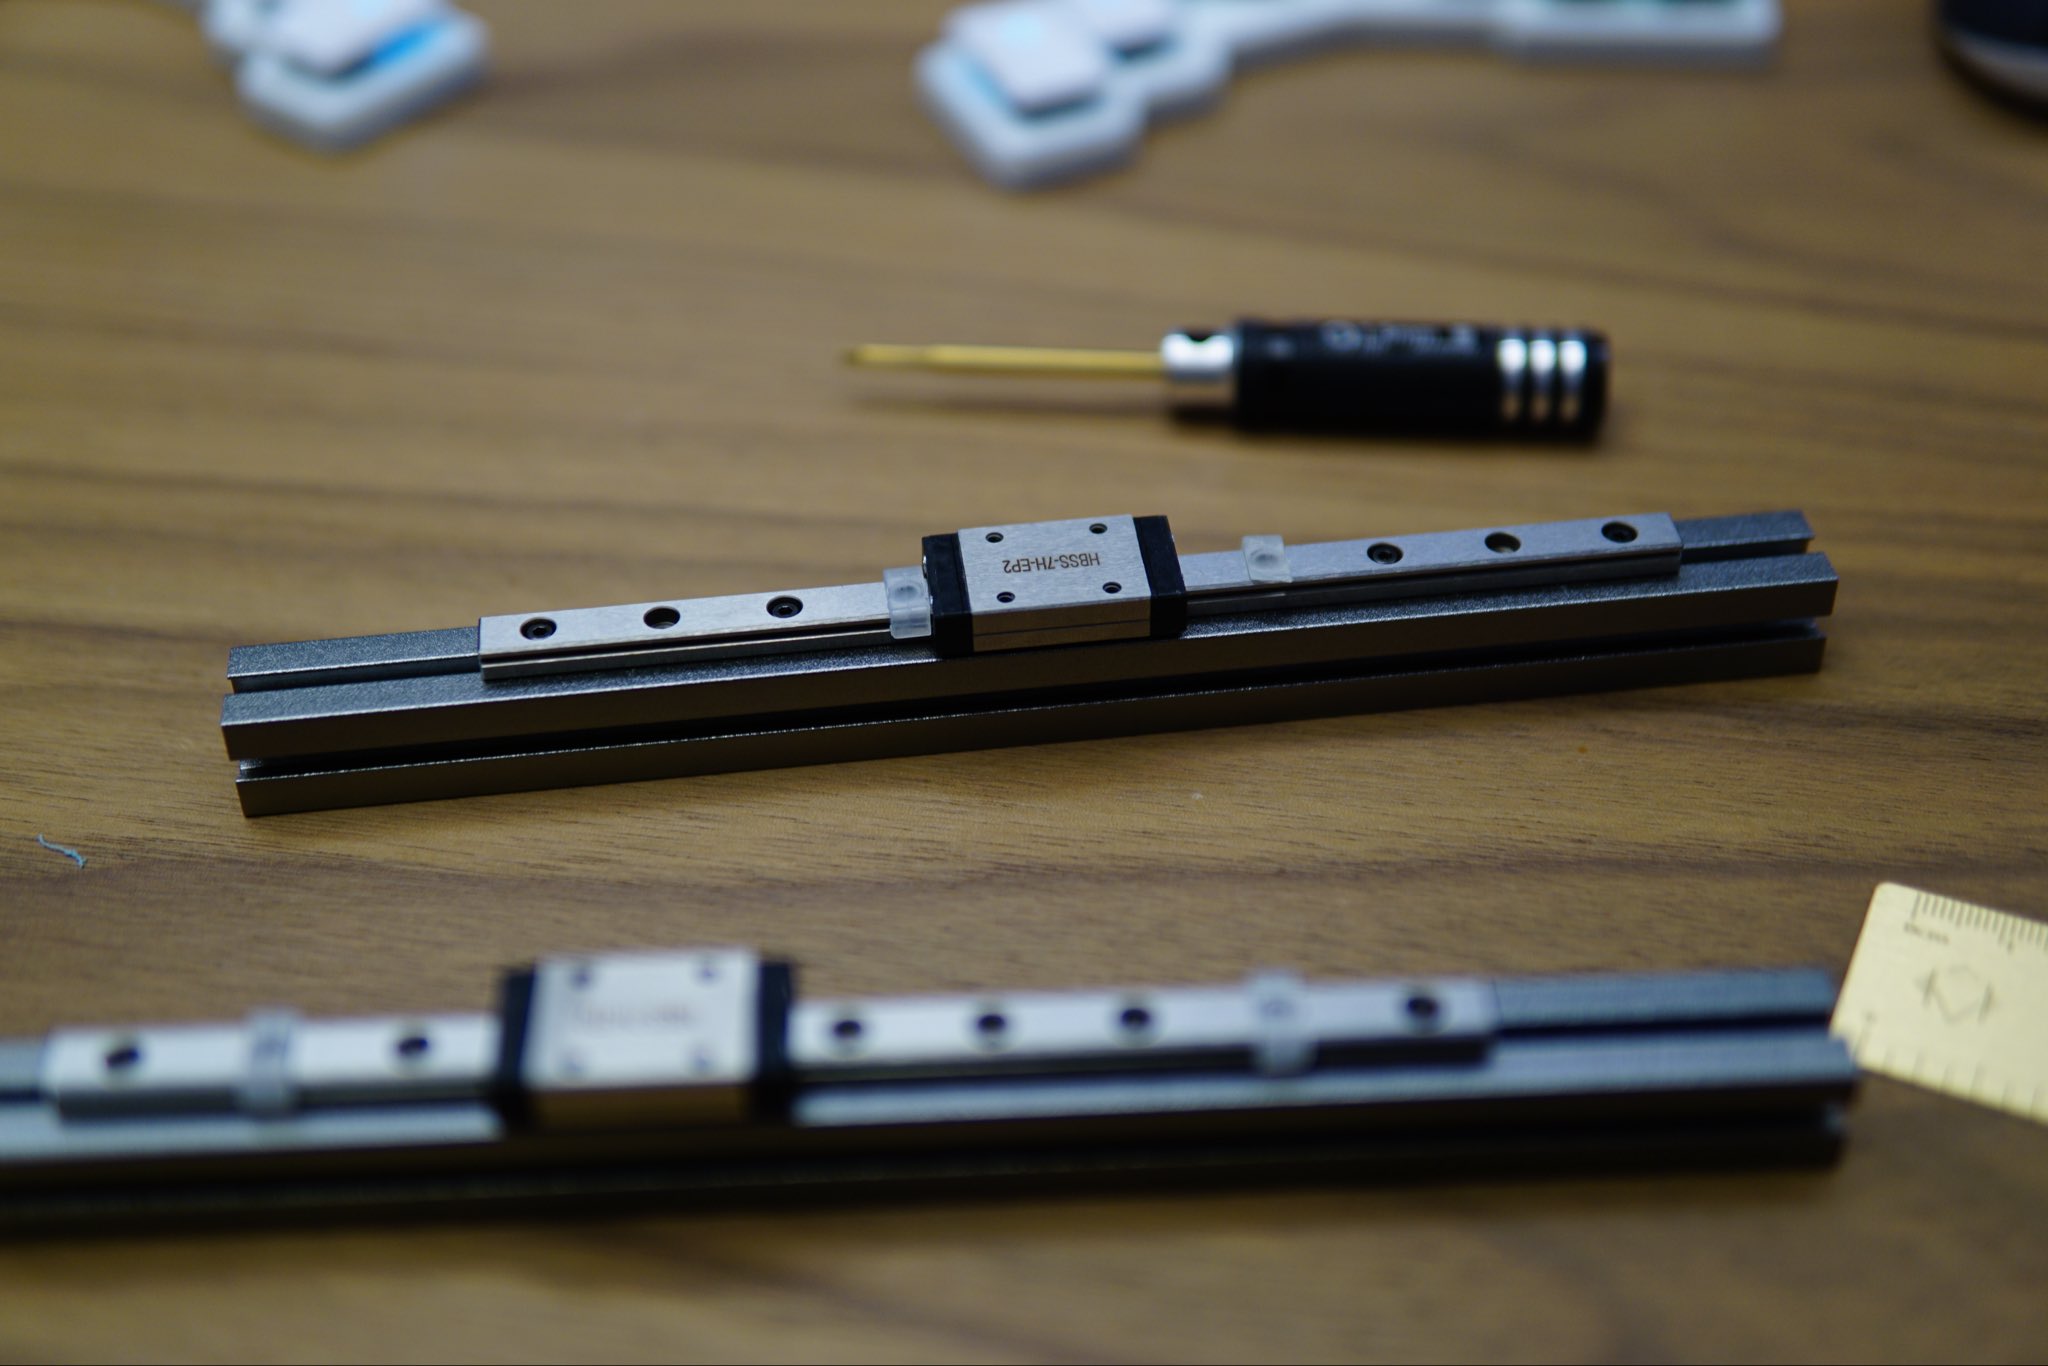
The provided extrusions from the kit were quite high quality anodized aluminum, the linear rails came pre-greased (from the Honey Badger kit) though I blindly followed some instructions and removed the grease from one of the rails, which required me at least partially re-grease it.
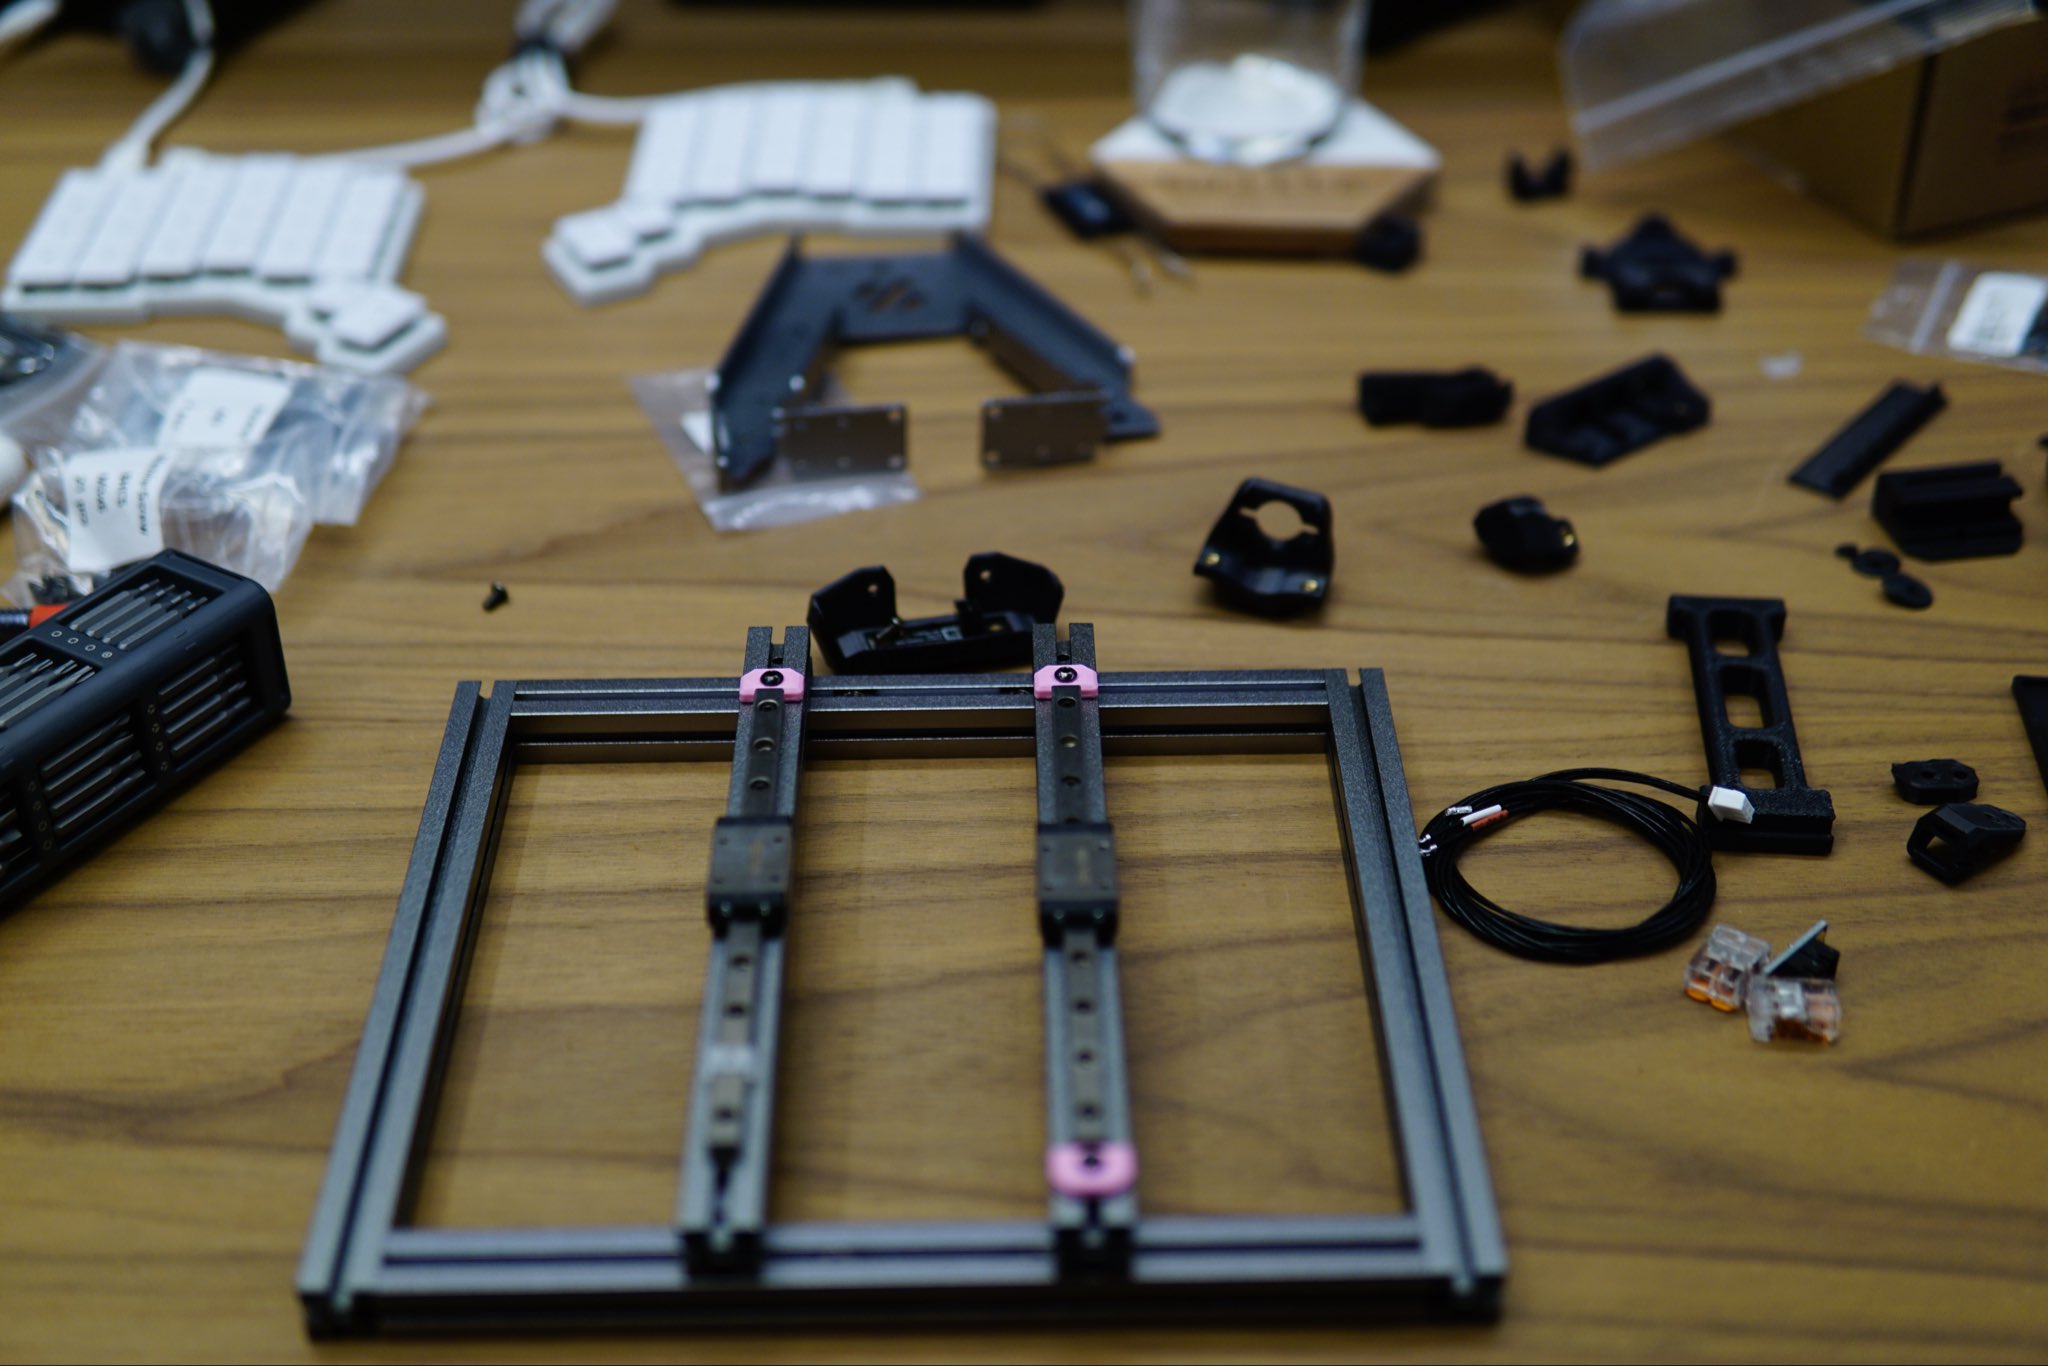
Building the first part of the frame was quite easy and was pretty meditative. One annoying part was switching from the Voron V0.2 official build guide to the LDO Kirigami bed guide and remembering where you have to move from one to the other. (Honestly, even realizing I had to go and find the latter guide took me a bit.) But it was otherwise relatively smooth sailing.
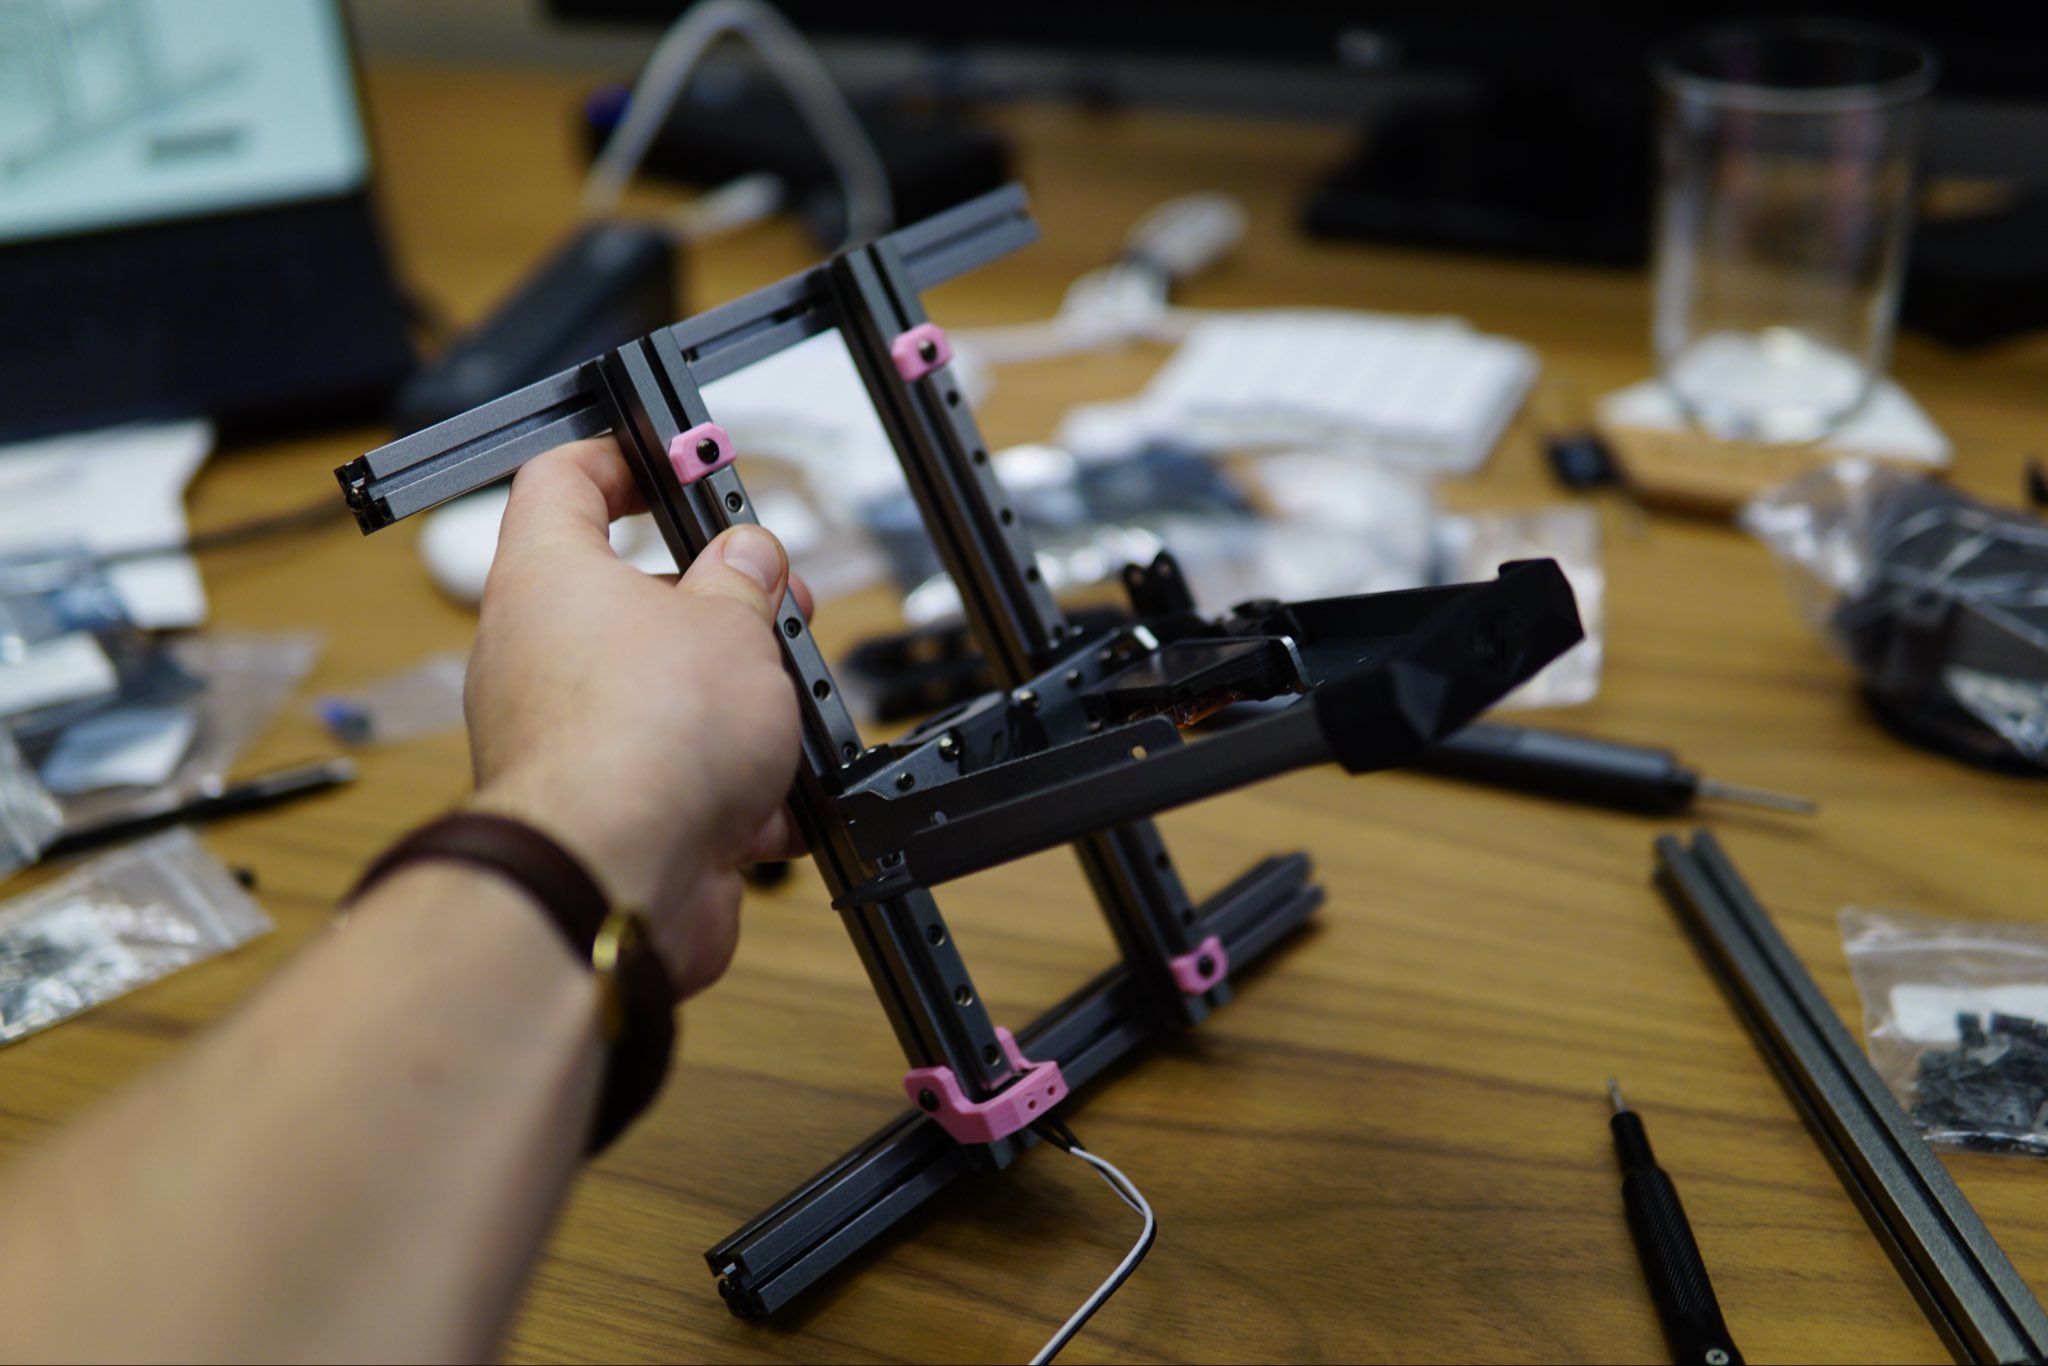
I have heard that squaring the frame is a problem for other builds, but using a standard carpenter square made it pretty easy overall.
Finally, there are just so many nuts to count. I feel like half of my time was spent counting nuts and making sure they were all in reasonable places. I also made the mistake of not printing enough nut holders (one of the LDO recommended mods) but this was only slightly annoying in practice.
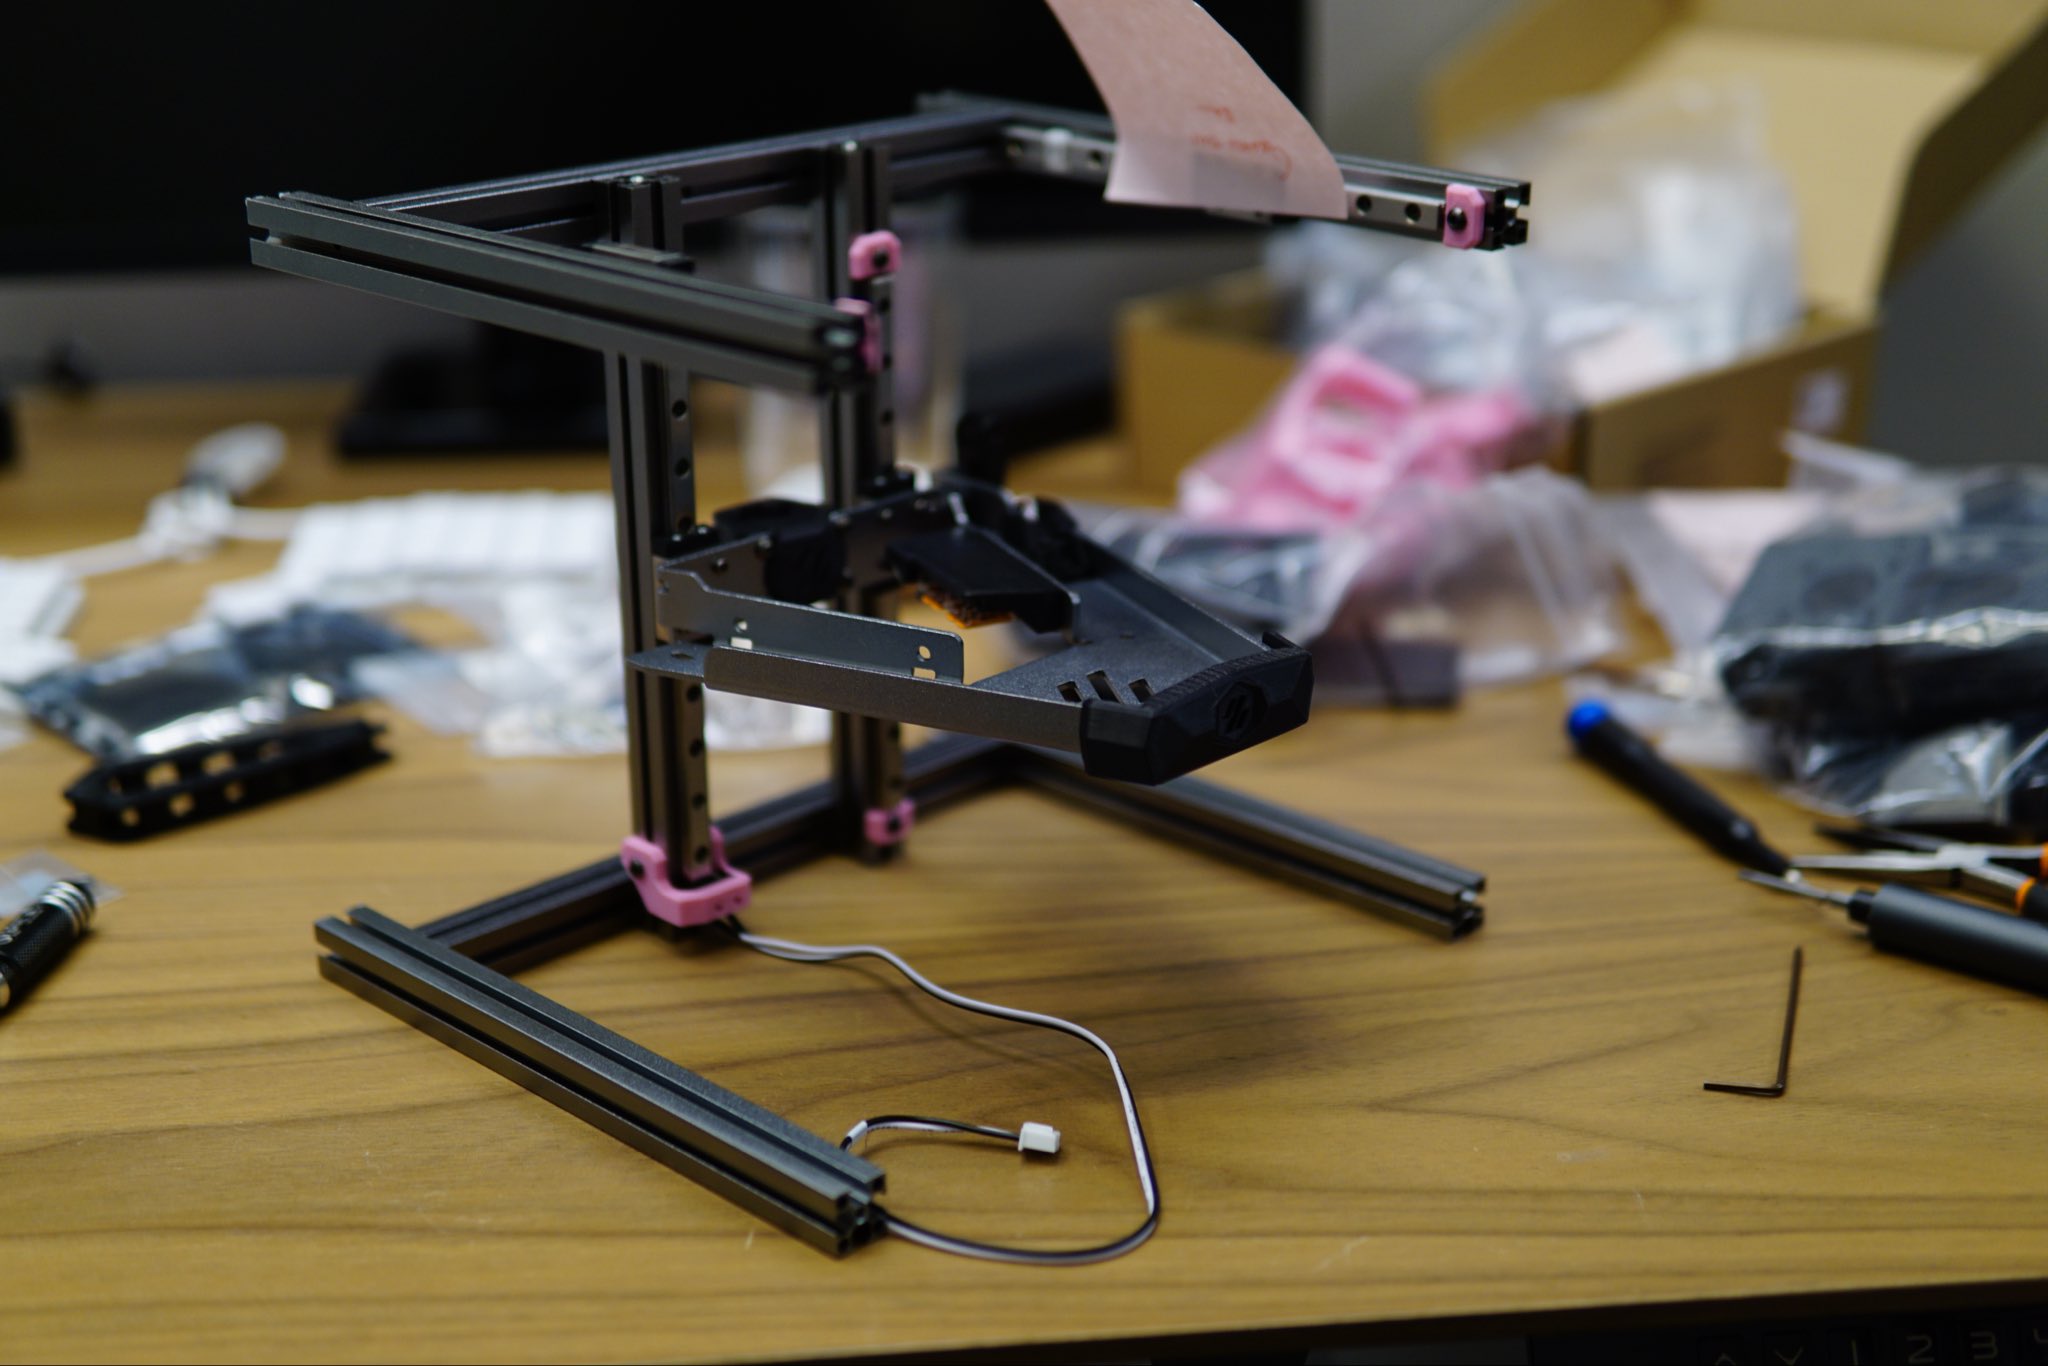
Stepper drive housing and bed electronics
Next up was assembling the stepper drives, housing, and some of the joints:
These were generally pretty easy, except for one thing: make sure you have them set up correctly. I had to disassemble one stepper housing and both of the Core XY joints because I had flipped some of the parts around. The stepper housing was also somewhat unfortunate since I only realized I had messed up as I was placing the belt. This meant that I had to remove everything, disassemble it, put it back together, and, most annoyingly, find and realign the nuts on the aluminum extrusions where the motor would be mounted.
All-in, this probably cost at least an hour or two just in dumb mistakes, but alas.
Finally, there was some fun with wrangling wires from the bed. (This has to be done somewhat carefully since the bed is a hot element… it would be a shame if your fancy wires melted because they were touching the bed.) Most of the work here though was really just getting it all to look nice and presentable.
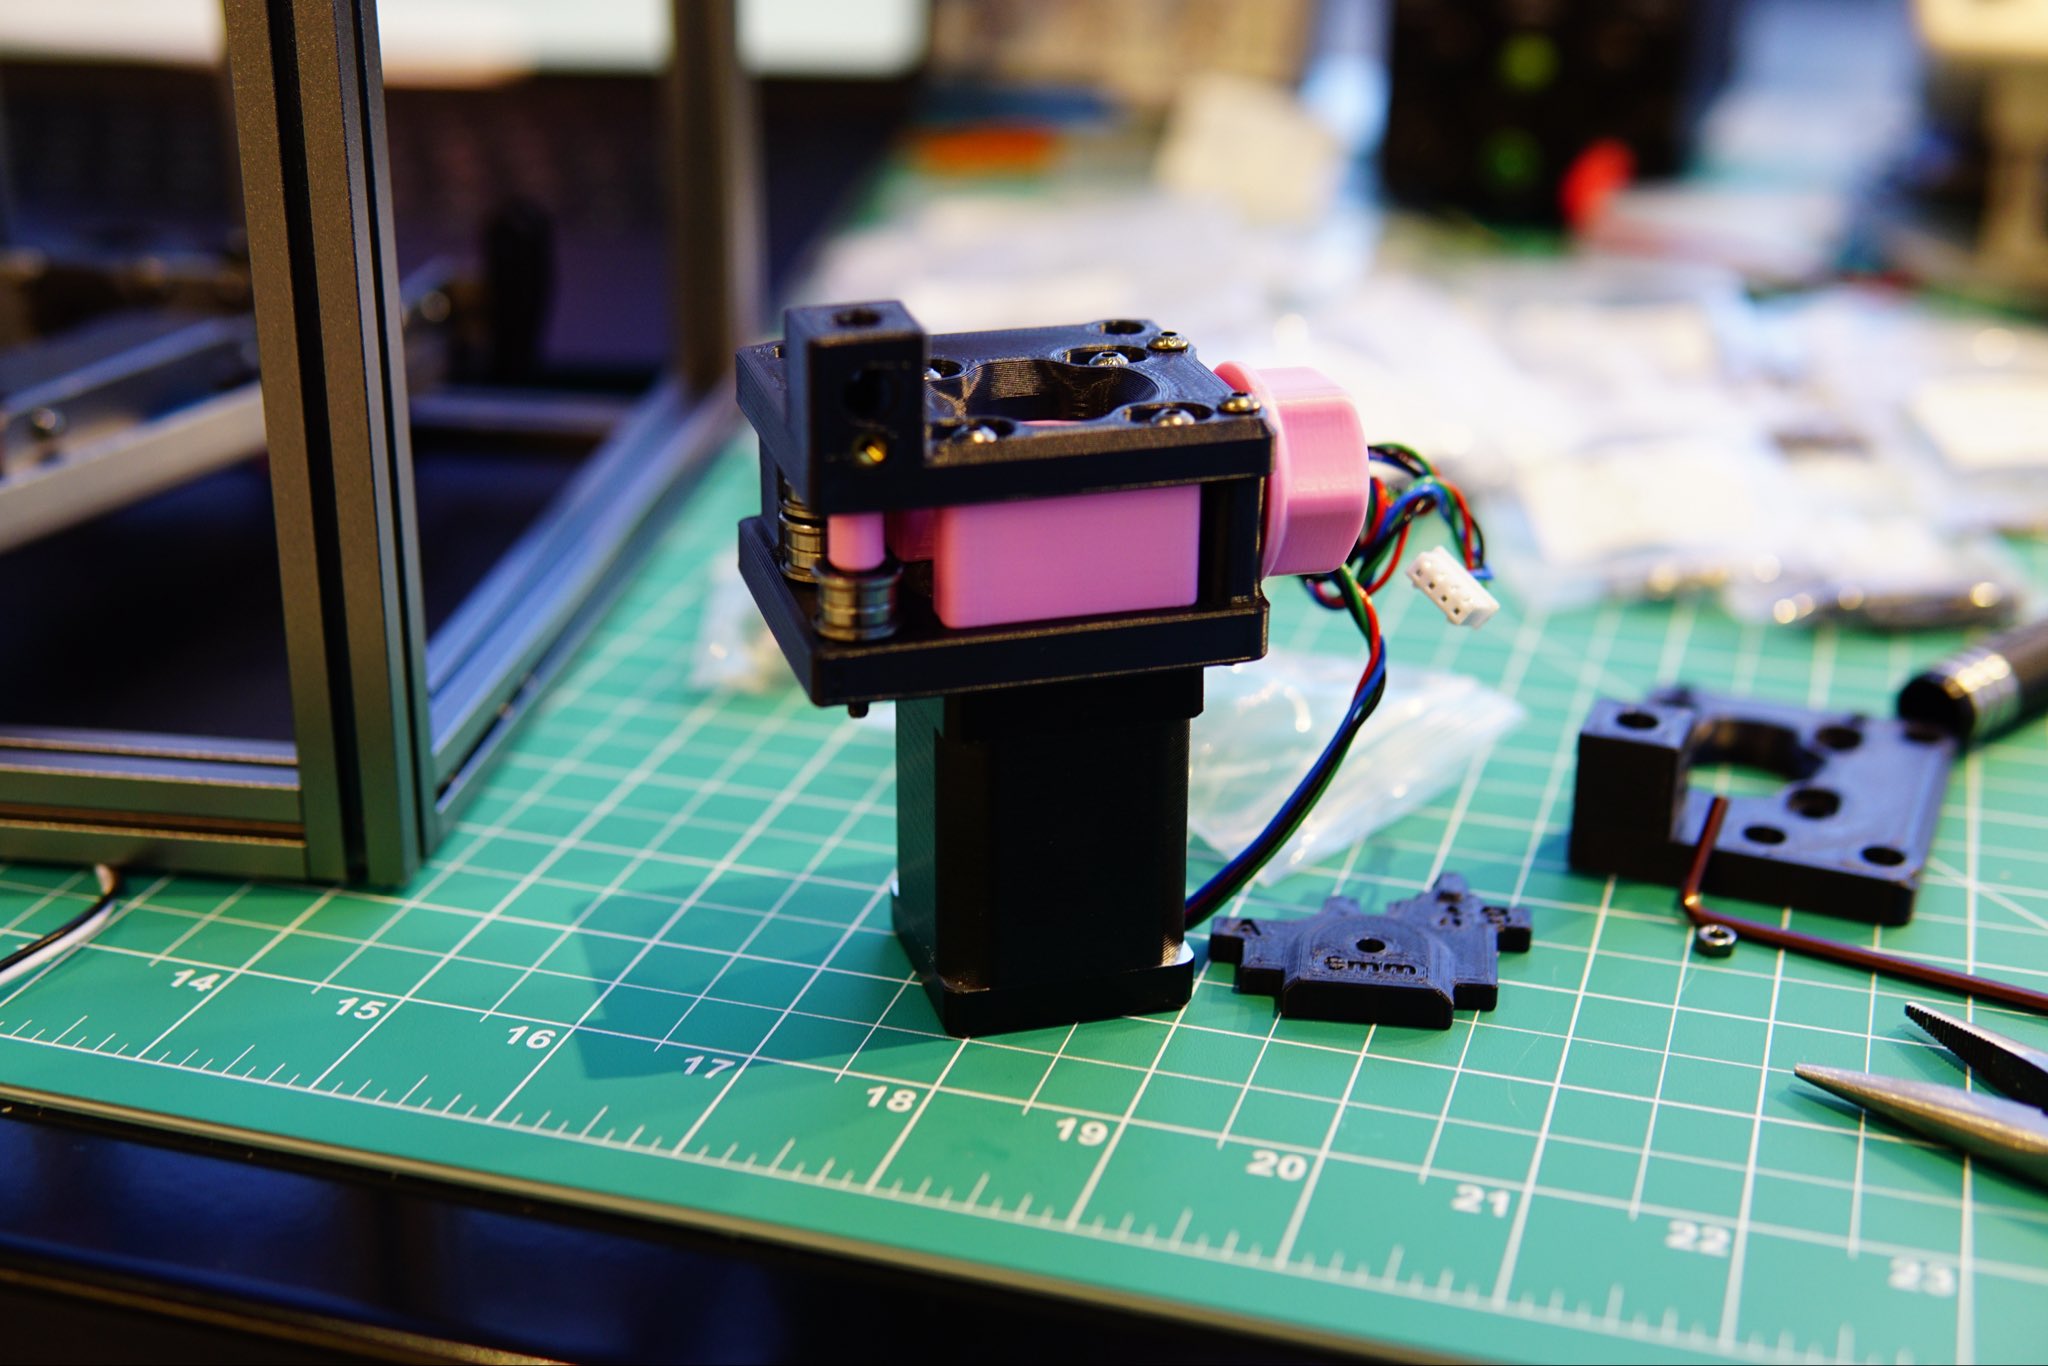
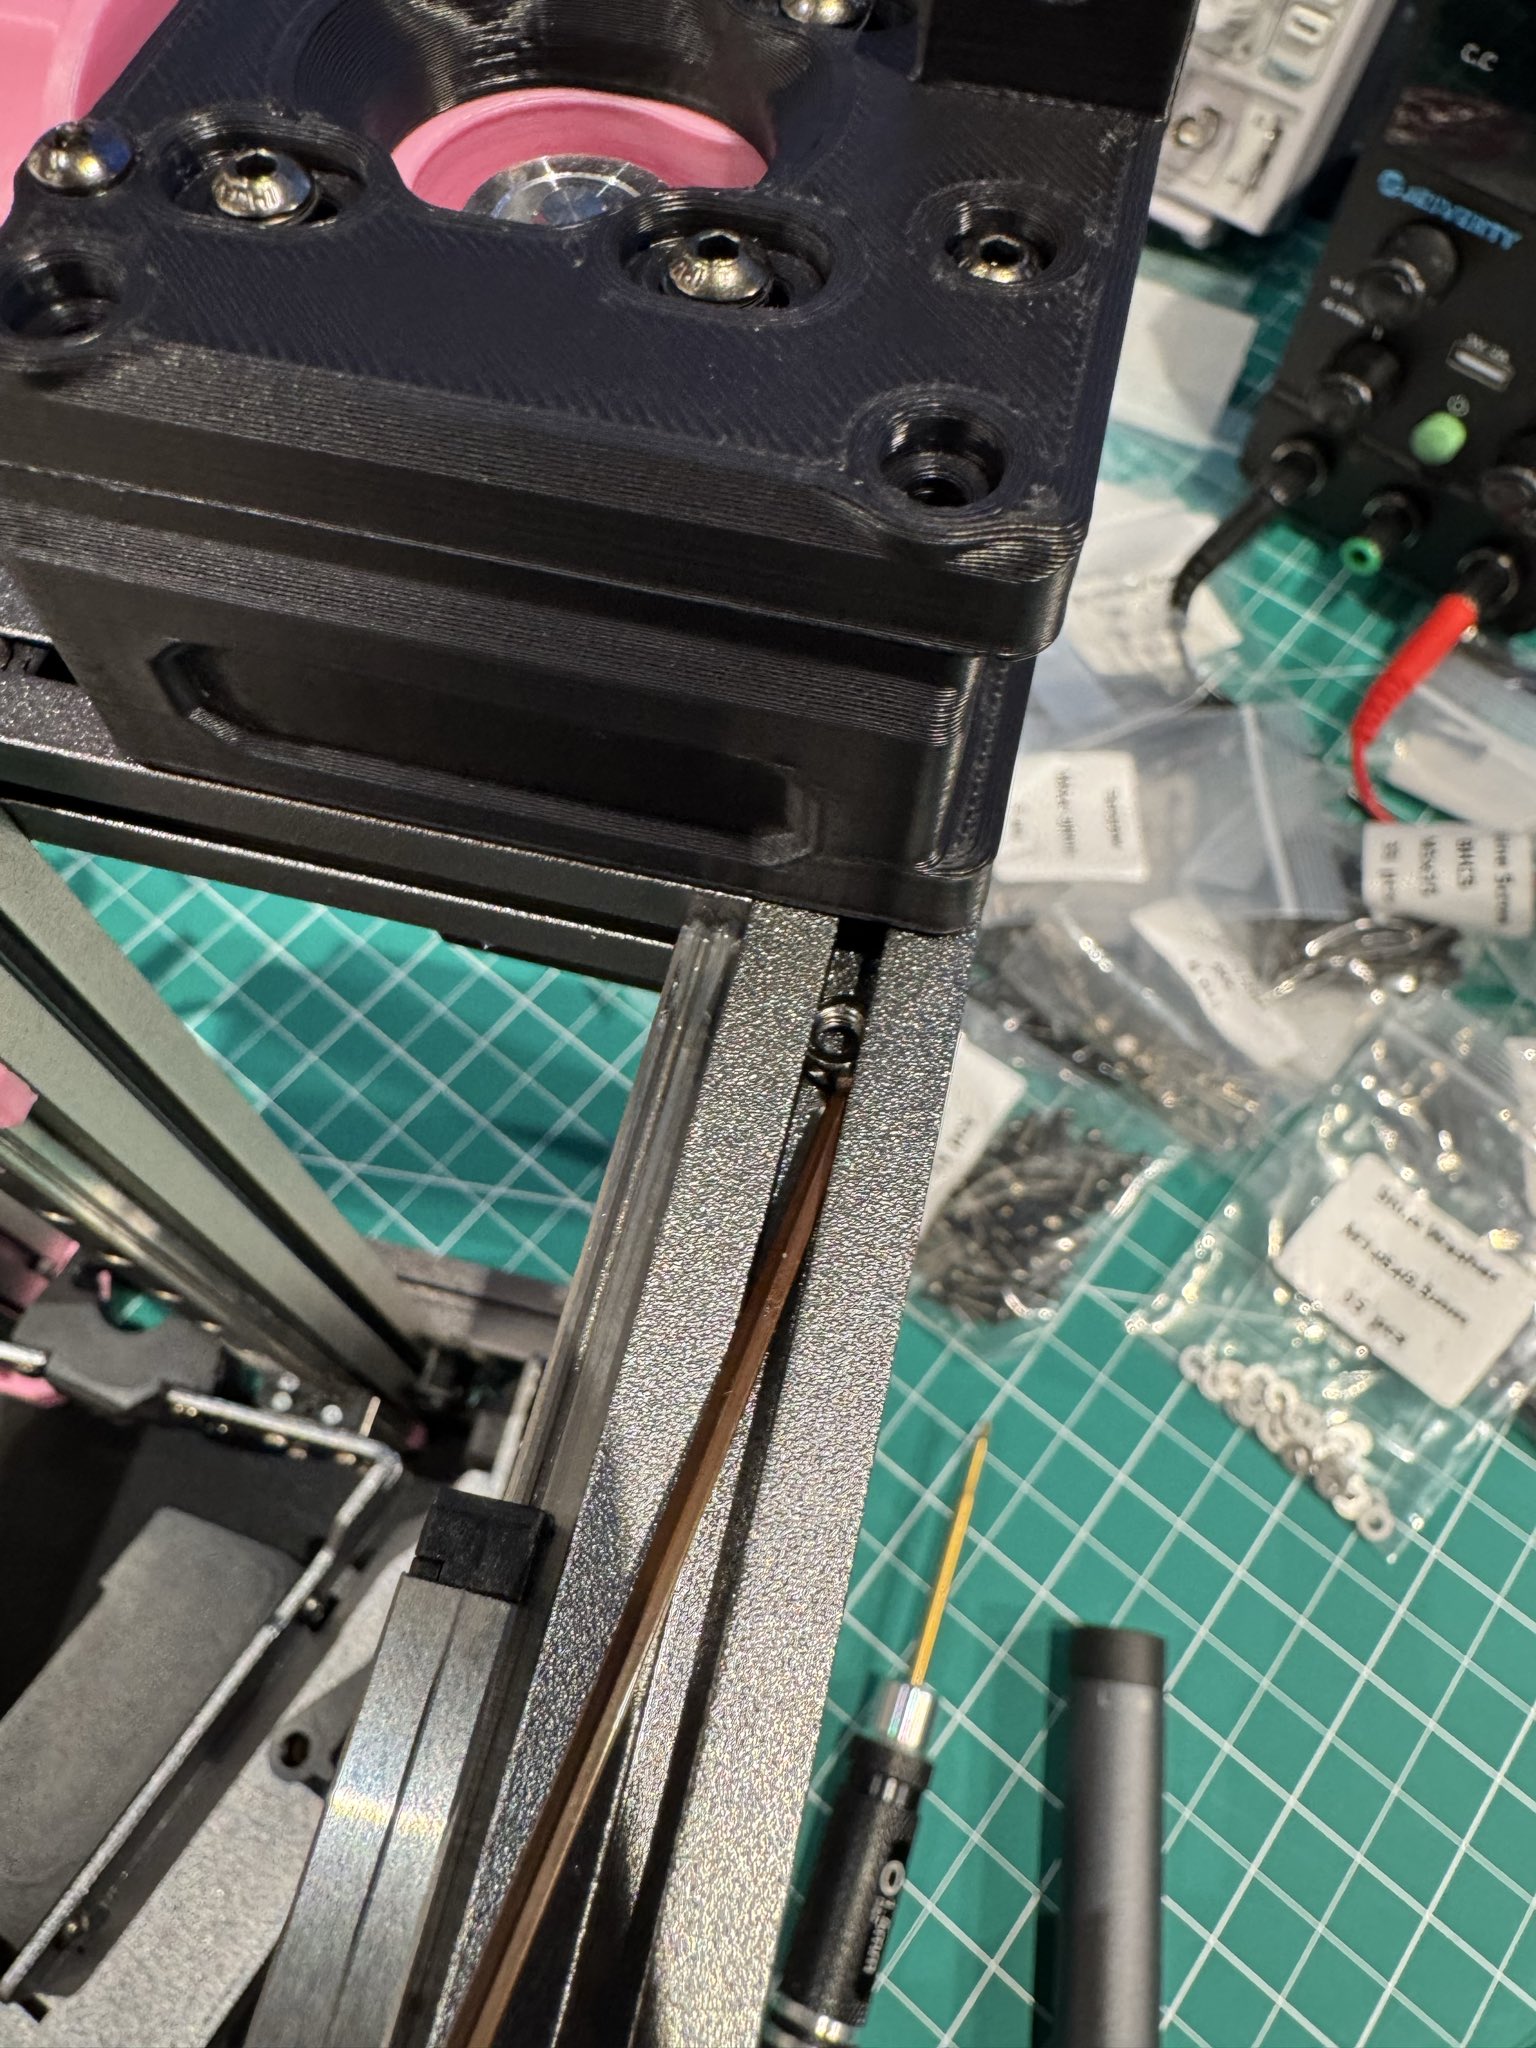
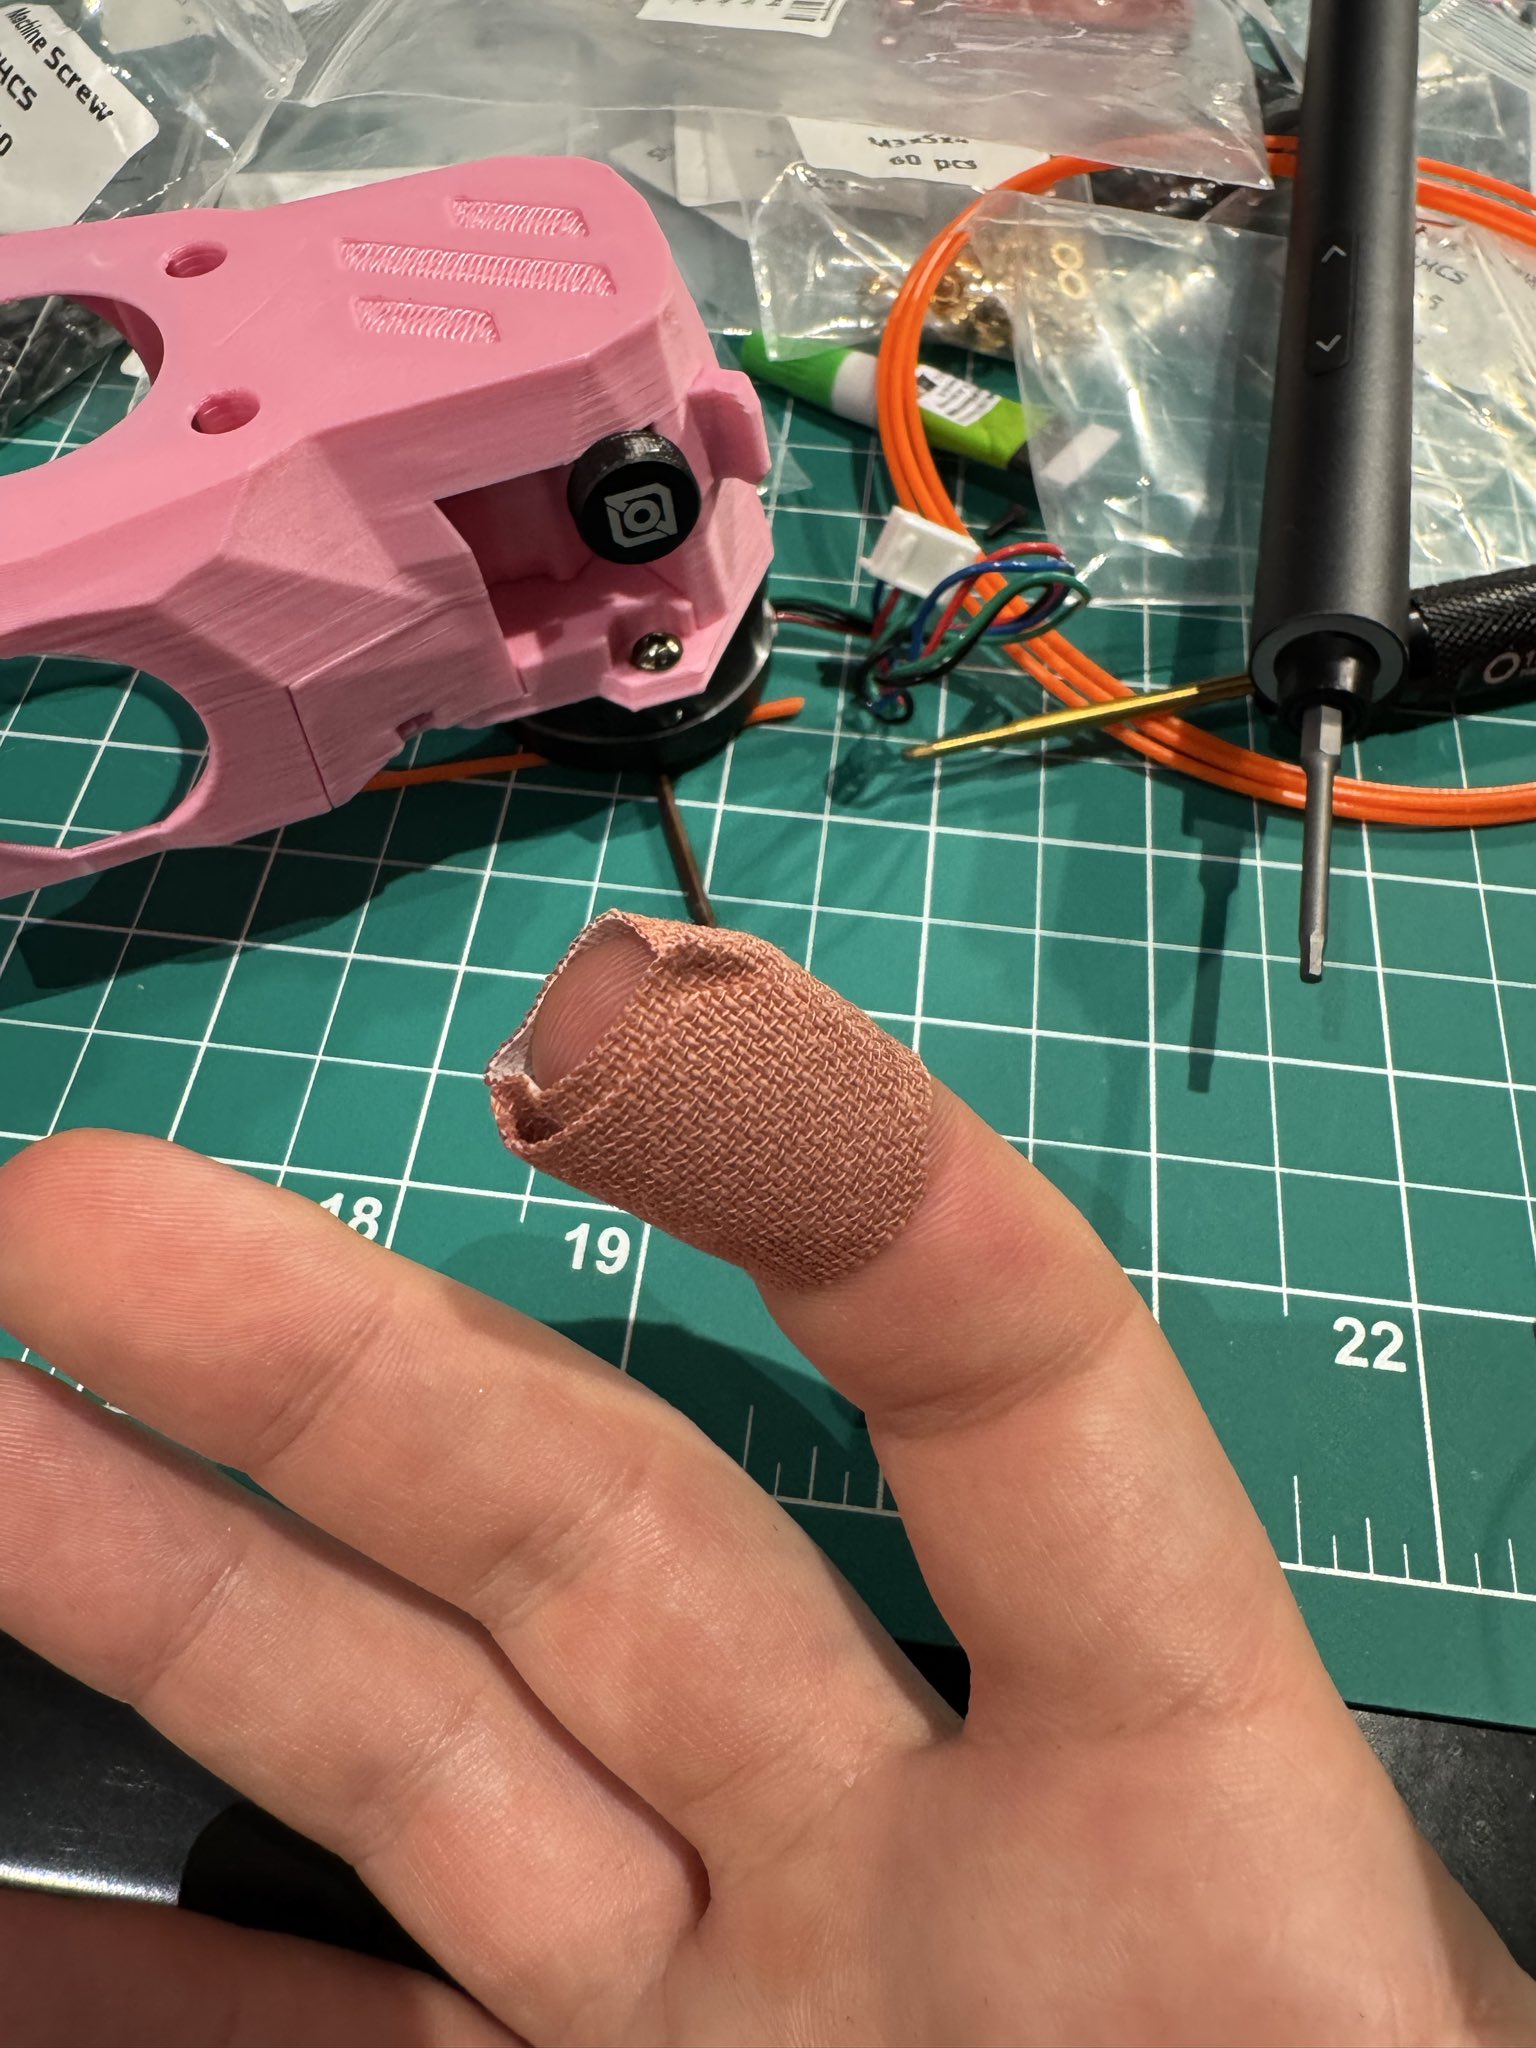
Extruder drive
This was a fun one as it’s one of the places where the tolerances of the printed parts can be a bit annoying.
Here, one of the problems (which I am still, to this day, not sure how it was resolved) was that the latch was very tight. I think this caused some of the rest of the toolhead to move slightly, which, in turn, caused the teeth that are supposed to “catch” the plastic filament used for printing and feed it into the hotend5 to… not “catch” the filament and feed into the hotend. (In particular, the motor would spin freely and essentially independently of the filament, which meant that no plastic got extruded.)
After some futzing around, latching and unlatching, and disassembling and reassembling, the problem went away and has been ok since, at least as far as I can tell.
This process also claimed part of a finger, but I guess those are the perils.
Electronics
Assembling the electronics was all pretty straightforward. Most of my questions here revolved around how to set up the cabling in a way that didn’t suck, but it’s not exactly rocket science.
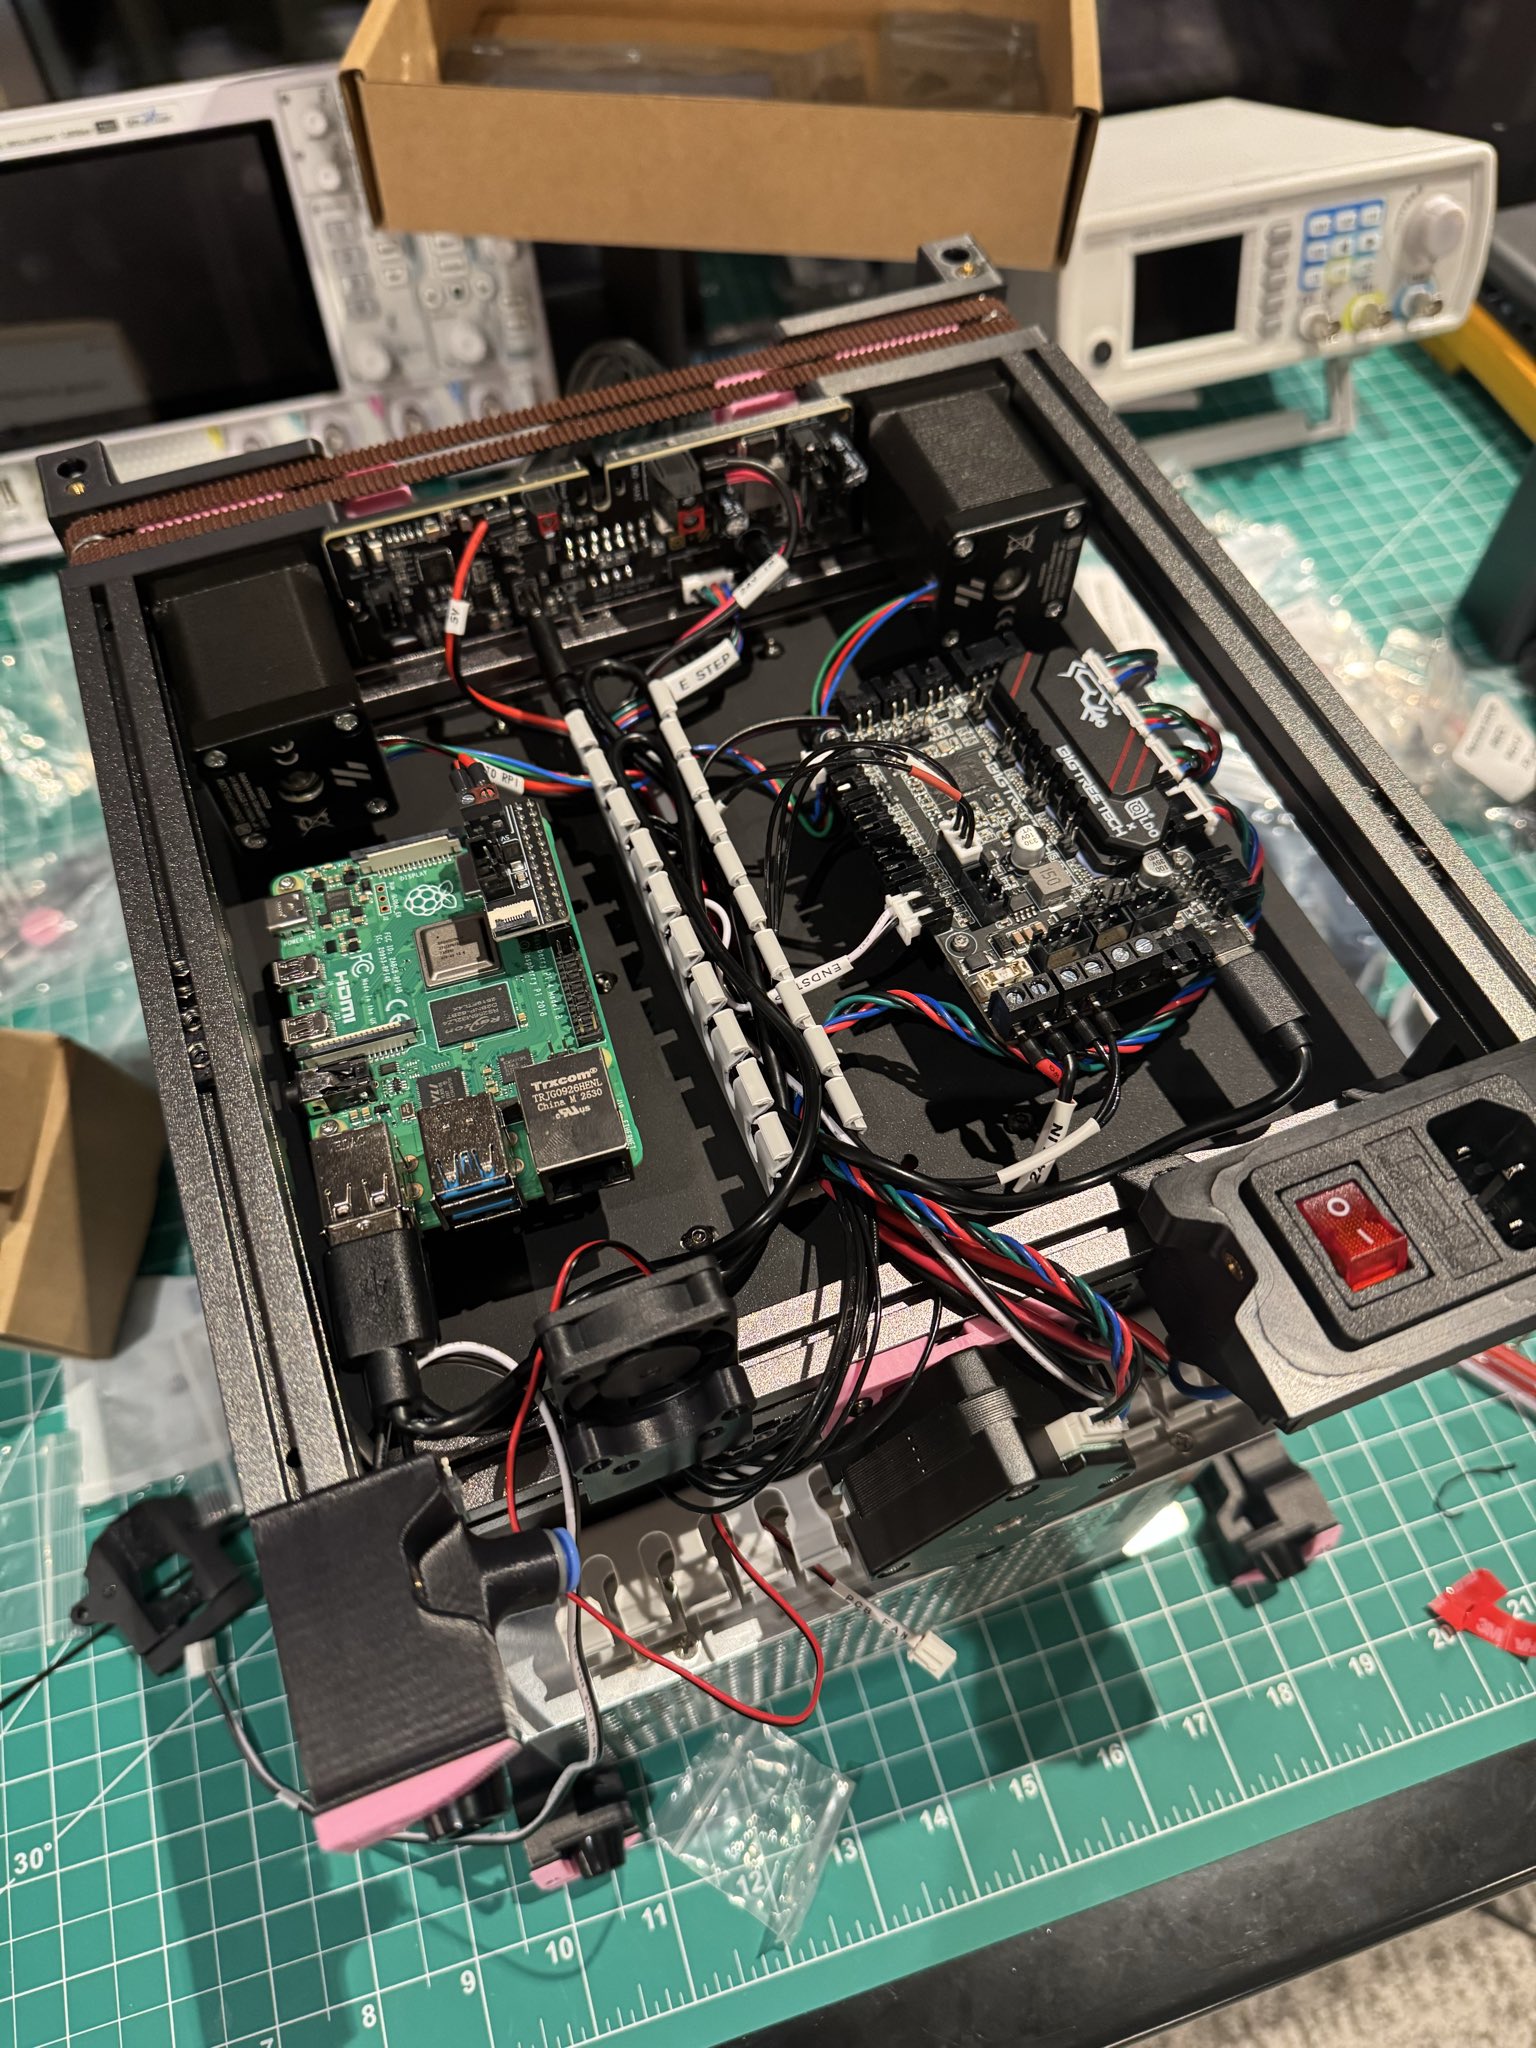
The rest was just setting up software.
This was an entertaining one since I didn’t have easy access to WiFi that allowed for local host discovery or local network communication. (The guest WiFi I was using for the printer prevented any communication over the local network between devices.) To do this I settled on the following process: use ethernet over USB-C to be able to SSH into the Raspberry Pi. Importantly, the USB-C port shuts down if you use a separate power source for the Raspberry Pi (such as feeding it over the GPIO pins, as the board for the printer kit does) so you have to disconnect that, even though the rest of the board will be powered using the 3D printer’s power source.
Importantly: make sure everything’s on common ground, otherwise you’re going to have a bad time.
Figuring all of this out was an annoying source of headaches, though ChatGPT was somewhat helpful in this endeavor, which was quite nice. I probably lost at least two hours on figuring this out, though I don’t expect most people building this at home will have a problem of this form. (Unless you’re using guest Wifi on modern routers.)
Set-up and calibration
The set up for the printer was pretty easy overall. Most of it involved getting some correct USB device IDs (and making sure that those weren’t switched, otherwise you might brick the device) and, really, the big thing was ignoring the almost all advice given in the guide about “sensorless homing”; all that was necessary was to place the bridges on the board and change the “end stop” settings to be sensorless.
After Klipper was set up, there was some basic PID tuning for the heating elements which it performed automatically and some simple stuff that had to be done to make sure the Z-Axis had (a) the correct pin direction (mine did not) and (b) correct limits.
Finally, there was some work to go and connect the accelerometer (that already exists on the toolhead) via a ribbon cable to the main board, which could then be used to tune the so-called “input shaper”6 automatically. (This required setting up another thing as a virtual board specified in the guide, which was fine, but I didn’t understand the mechanics of, and dealing with some python dependencies, which is always annoying.)
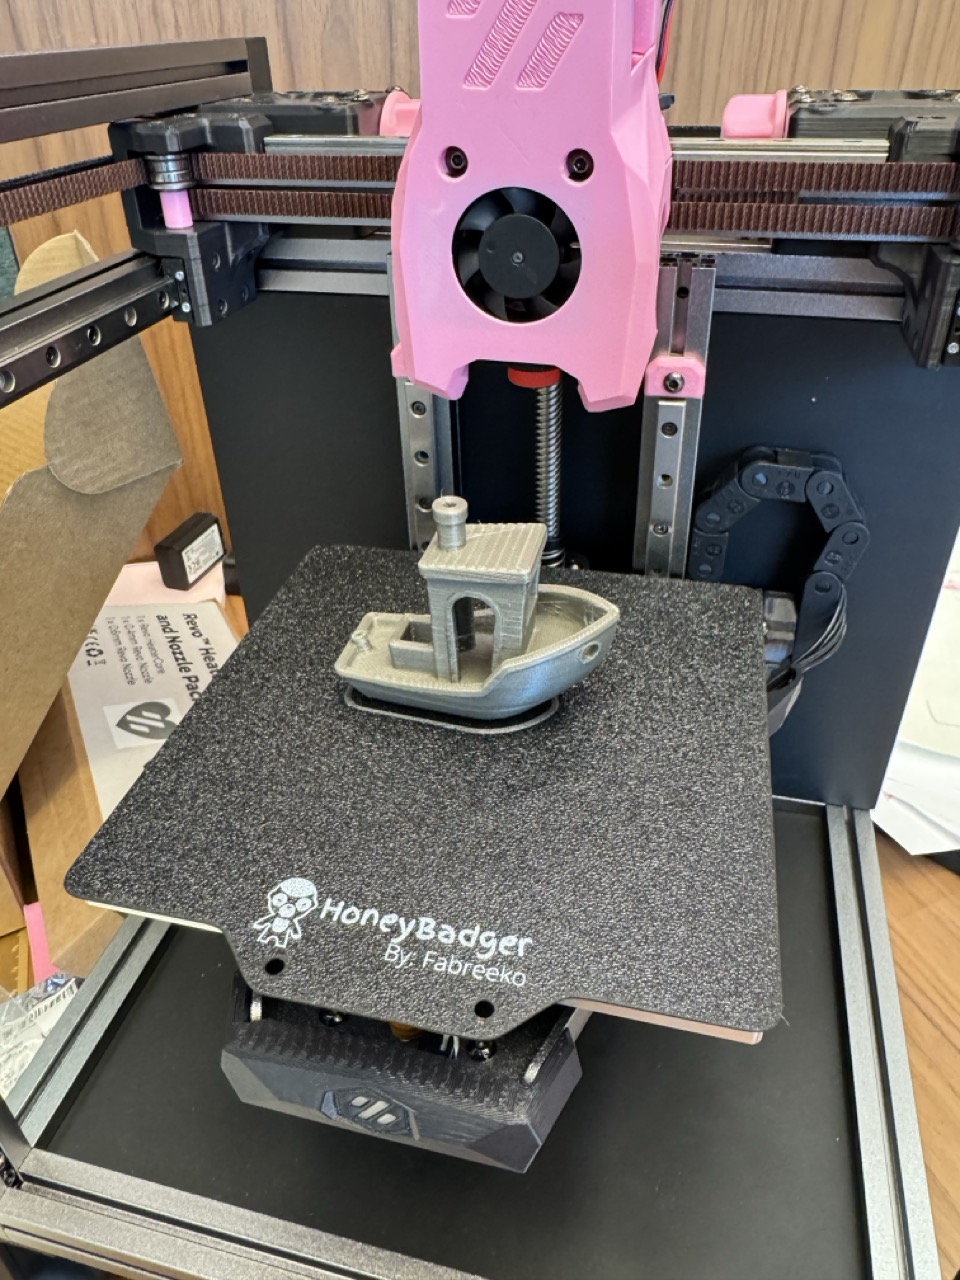
Finally, going through Ellis’s really lovely tuning guide kind of rounded out the rest, and out came a Benchy:
Final thoughts
Overall, the process of building the Voron V0.2 was fairly enjoyable; the guides were very good, even if the information was spread out and required some back and forth. On the other hand the process of tuning the Voron was more of a pain than anticipated. Maybe I’m currently falling in the midwit peak where I know a little too much about open source software, installing it, programming, etc., to be dangerous, but somehow not enough to actually be effective? Unclear.
Anyways, I’d like to talk a little more about the philosophy of being able to turn code into physical stuff, what it (likely) means for the future crypto-wars and adjacent splash zones, and how I’m actually pretty surprised we got here in the first place, but unfortunately the margins of this post are too narrow to contain them.
Until next time.
Footnotes
-
I purchased this LDO Honey Badger kit when it was on sale but there’s plenty of other kits of varying quality. I don’t really have much of an opinion on this but it seems that LDO kits are the “gold standard” in the community. ↩
-
In a pinch, Voron also offers a “print-it-forward” program, which lets other people who have built Vorons print the functional parts and ship them you, with the expectation that you will be able to print “quality of life” parts yourself once you’ve assembled the functional printer. ↩
-
LDO’s configuration file gets a bit at this, but it still requires a good amount of messing around with it to have a “fully-usable” printer that runs at full speed and so on. ↩
-
That is not to say that there is no interaction between sellers and the Voron design team. LDO for example, is known to provide the design team with parts for prototyping, but it appears to be, at least publicly, limited to those types of things. ↩
-
Probably self-explanatory, but the “hotend” is the part that actively melts the plastic that then gets deposited. ↩
-
For the control/optimization nerds that read this blog: the “input shaper” is essentially a basic input control that dampens ringing, if we model the toolhead on a gantry as a dampened oscillator. The basic shape of the control is that the acceleration input looks like a trapezoid and the slope of the rise and fall edges have to be tuned to remove said ringing. ↩